
🧩 1.2 Blink and Read#
🔰 Tutorial#
Learn how to write MicroPython scripts and use a Raspberry Pico W microcontroller to send commands to an RGB LED and read data from a light sensor.
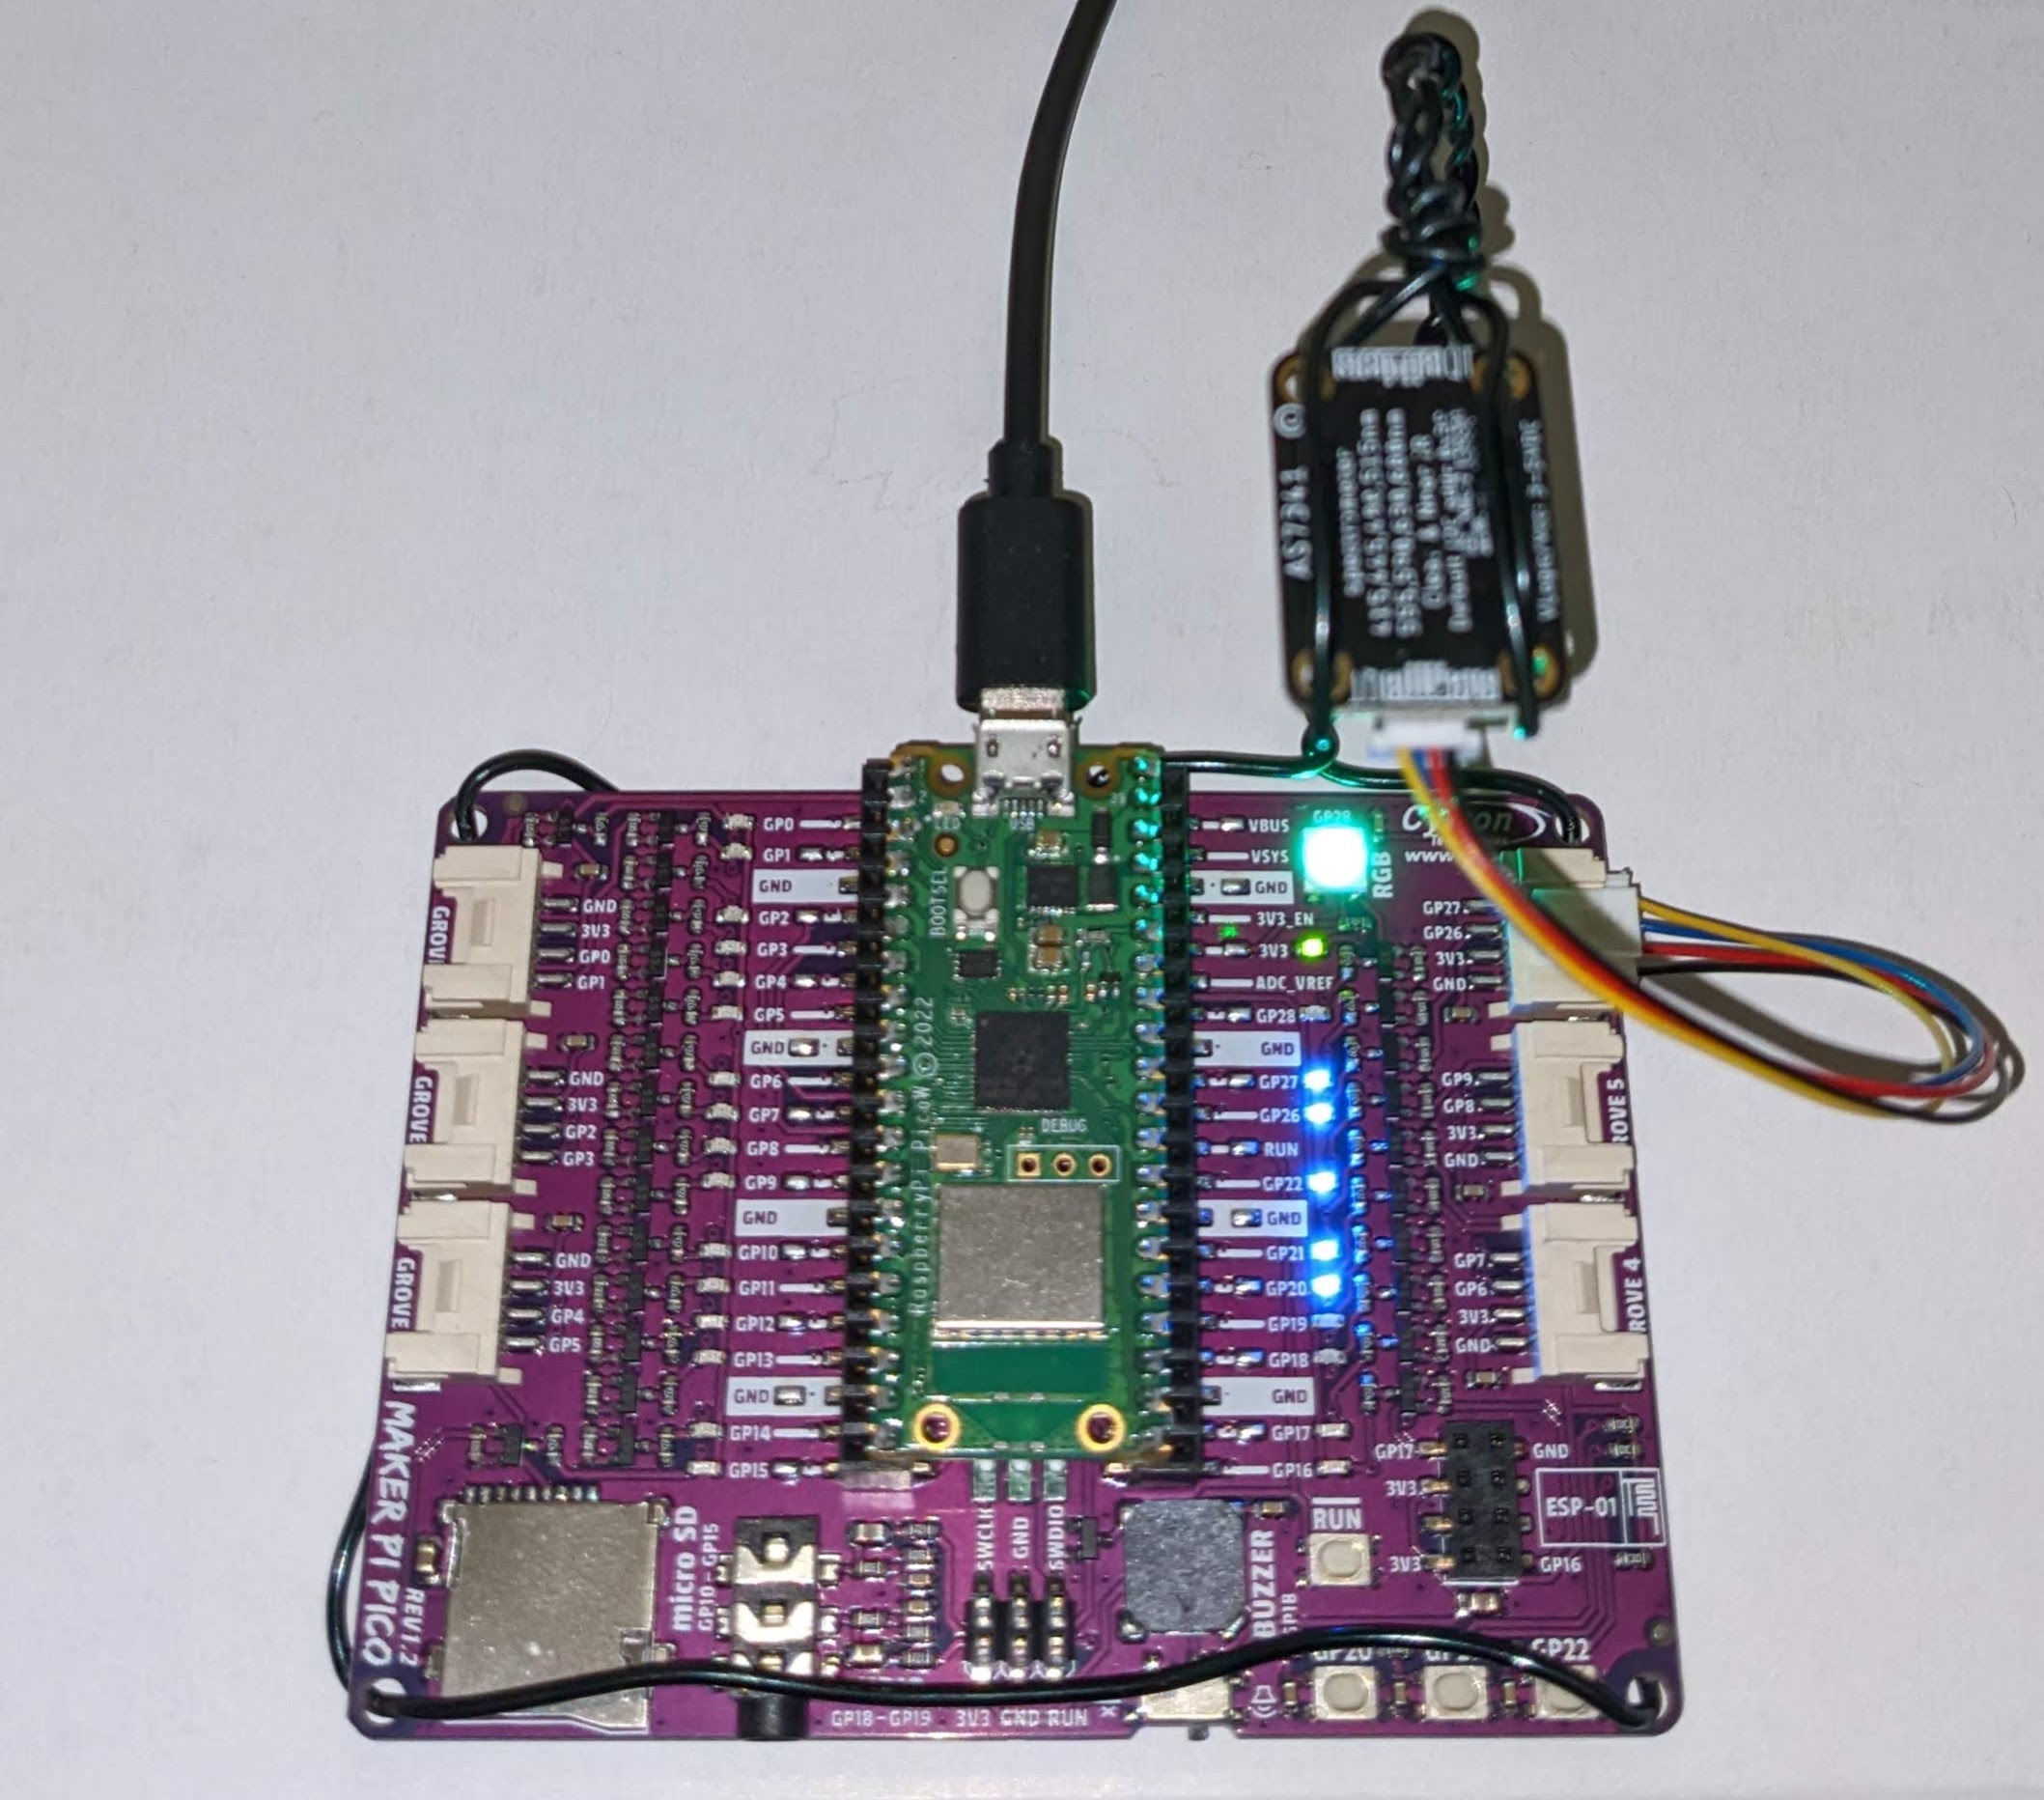
Flashing the RGB LED on the Maker Pi Pico base with a green color.
Getting Started with the Pico (Optional)#
Read the Getting Started with the Pico tutorial, some which overlaps with prior content. Note that the onboard led for the Pico W is accessed via onboard_led = Pin("LED", Pin.OUT) instead of onboard_led = Pin(25, Pin.OUT), which is for the original Pico. For the “Use digital inputs and outputs”, “Control LED brightness with PWM”, and “Control an LED with an analogue input” sections, you can still run the code without the optional hardware (button, wire-lead LED, resistor, potentiometer, breadboard, M-M jumper leads), though you won’t be able to observe the effect.
Onboard LED#
Note
The onboard LED is distinct from the RGB NeoPixel LED that you will be using later in the module.
The script in this section controls the onboard LED (see black callout below).

✅ Copy and paste this code into a new file (e.g., onboard_blink.py) in Thonny and run it to see the onboard LED blink every two seconds.
from time import sleep
from machine import Pin

onboard_led = Pin("LED", Pin.OUT)  # Pico W is slightly different than Pico

while True:
    onboard_led.toggle()
    sleep(2)
Onboard Temperature#
Below is a script for reading the Pico W’s onboard temperature sensor.
✅ Copy and paste this code into a new file (e.g., onboard_temp.py) in Thonny and run it to see the temperature in degrees Celsius.
import machine

adcpin = 4
sensor = machine.ADC(adcpin)


def ReadTemperature():
    adc_value = sensor.read_u16()
    volt = (3.3 / 65535) * adc_value
    temperature = 27 - (volt - 0.706) / 0.001721
    return round(temperature, 1)


T = ReadTemperature()
print(T)
NeoPixels#
✅ Read the MicroPython documentation for Controlling NeoPixels
✅ Review MicroPython time module
✅ Review intro of MicroPython Pin class
AS7341 Light Sensor#
✅ Read the overview page of the AS7341 Guide and the Pinouts page
✅ Browse the as7341_sensor MicroPython Module
Definitions#
GPIO (General-Purpose Input/Output) Pins: GPIO refers to the pins on a microcontroller or single-board computer that can be configured as either inputs or outputs to interact with external hardware. These pins can be used to read digital signals (input) or send digital signals (output). GPIO pins are versatile and can be used for various tasks, such as reading sensors, controlling LEDs, or interfacing with other digital devices.
I2C (Inter-Integrated Circuit): I2C is a communication protocol used for connecting and exchanging data between electronic components on a circuit board or between different devices. It stands for Inter-Integrated Circuit and allows multiple digital devices to communicate with each other using a common set of wires, typically two (SDA for data and SCL for clock), making it useful for connecting sensors, displays, and other peripherals in a simple and standardized way.
RGB Color Values: In the context of RGB color representation, 0 to 255 refers to the range of values for each of the three color channels: Red (R), Green (G), and Blue (B). Each channel can have a value between 0 (no intensity) and 255 (maximum intensity), allowing for a total of 256 different levels of intensity for each color. By combining different levels of intensity for these three channels, you can create a wide range of colors by specifying how much red, green, and blue are mixed together. For example, RGB(255, 0, 0) represents full red, RGB(0, 255, 0) represents full green, and RGB(0, 0, 255) represents full blue. Mixing these channels in different proportions produces various colors in the RGB color space.
Spectrophotometer: A spectrophotometer is a scientific instrument used to measure the intensity of light at different wavelengths in a sample. It works by passing a beam of light through the sample and measuring how much light is absorbed or transmitted. Spectrophotometers are commonly used in chemistry, biology, and physics to analyze the concentration of substances in a solution, study the properties of materials, and determine the color or composition of samples by measuring their absorption or emission spectra.